Introduction
Welcome to my tutorial on setting up a backup for your files using Syncthing. Initially, I considered rsync, but Syncthing caught my attention due to its broad OS support, including macOS, Windows, Linux, BSD, and more. I will potentially go over rysync in the future to make backups, but maybe I’ll investigate if it can be done via syncthing somehow. Syncthing stands out as it’s a private, secure, and locally hosted solution. It operates peer-to-peer (P2P), leveraging principles from the CIA Triad. Unlike centralized cloud services, Syncthing ensures:
- Confidentiality: Securing data privacy using keys.
- Integrity: Maintaining trustworthy data, unaltered and secure.
- Availability: Providing reliable data access, a concern with cloud solutions prone to downtime.
All communications are encrypted with TLS, ensuring secure transport layer encryption. Plus, it’s open-source, meaning transparency with no hidden surprises!
Supported Operating Systems
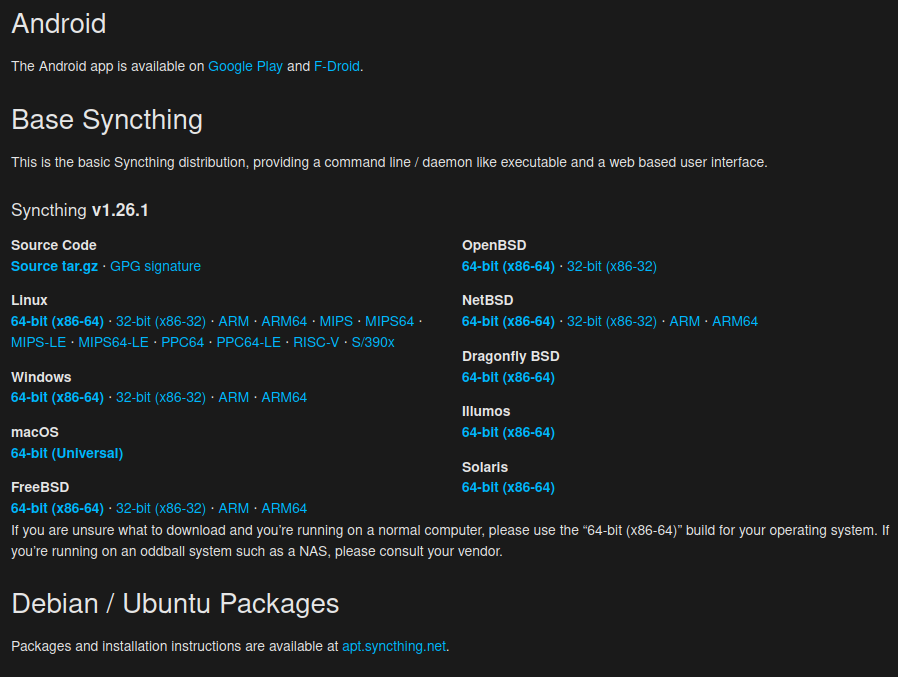
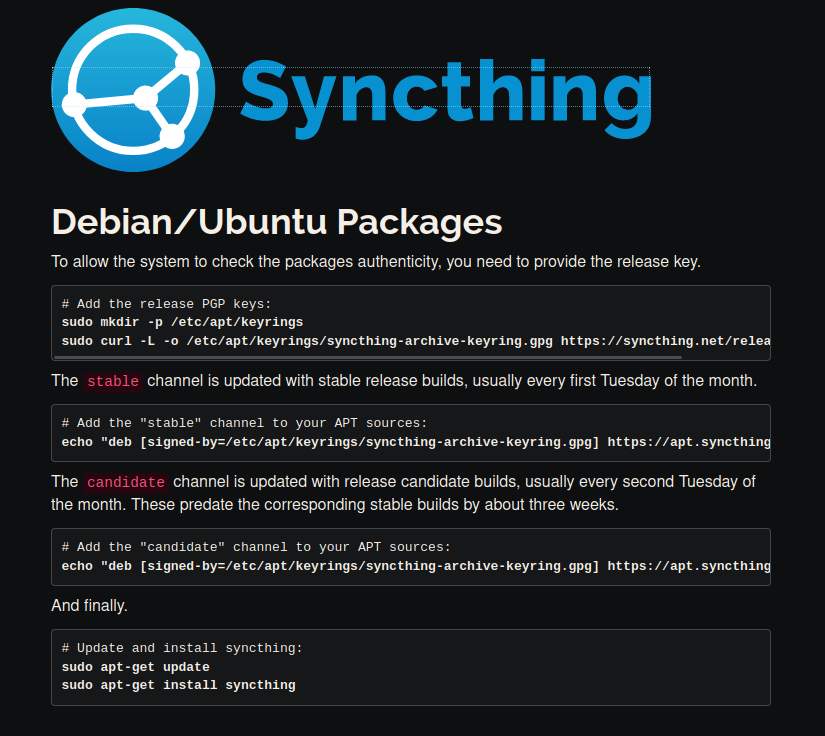
As a Debian OS user, I’ll focus on those specific commands. You can find instructions for your OS on the Syncthing website.
After successful package installation, launch the command line (avoid root user for security). The web GUI should open automatically, as shown below. If you encounter errors, check the XML config file, particularly the IP address configuration (should be 8384).
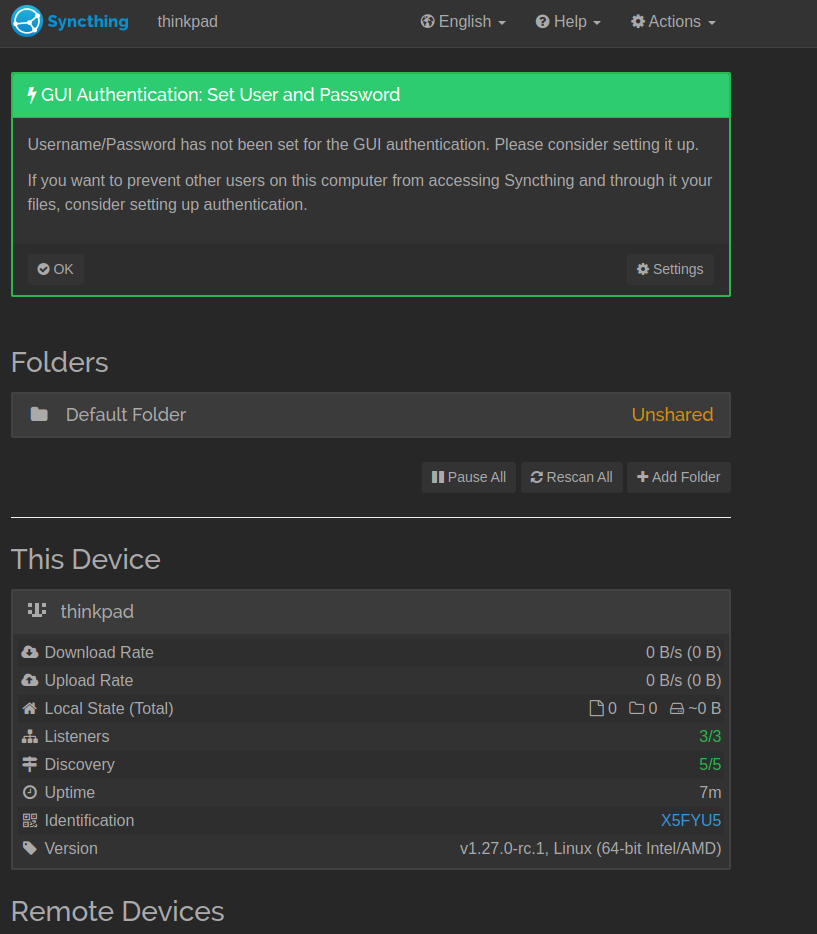
While you can add a user and password for cloud-like storage, I’m bypassing this step as I’m using LAN.
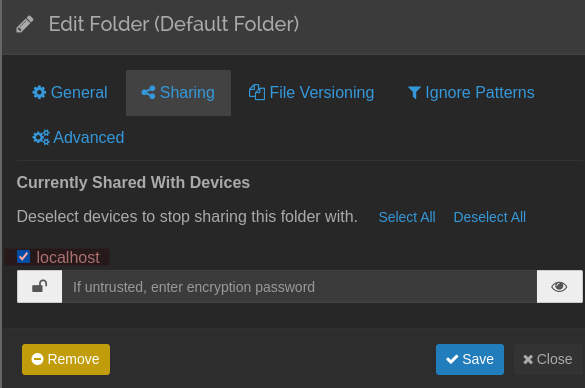
In the GUI, you’ll see the Default folder unshared. Here, we’ll decide which folders to sync. Syncthing’s flexibility allows selective sharing, unlike some services that sync everything under one root directory.
We’ll keep this tutorial to basic file sharing controls, but note that Syncthing offers advanced features like selective file syncing.
Pairing Devices
Devices communicate using QR codes, each representing a unique ID. Keep these IDs secure, especially when connecting over the internet. LAN usage is generally safer.
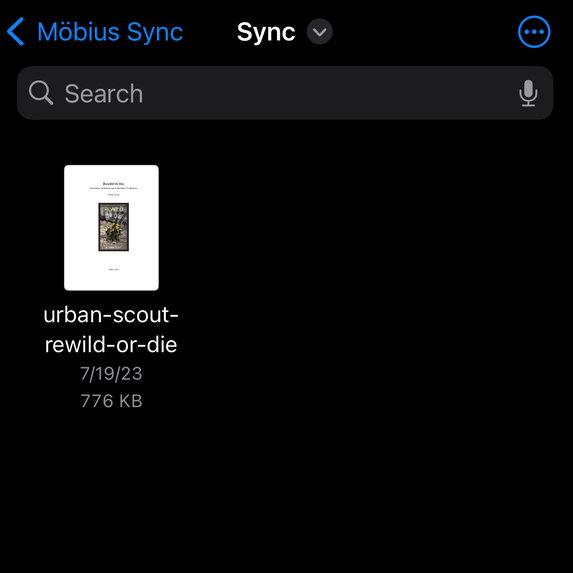
For iOS users, try the Secure Shellfish app or Mobius Sync from the iOS App Store. Mobius Sync offers a limited free version, with an option for unlimited syncing for a fee.
To sync, scan the QR code and pair the device. Select the default folder and hit ‘edit’ to choose the devices allowed to sync with that folder.
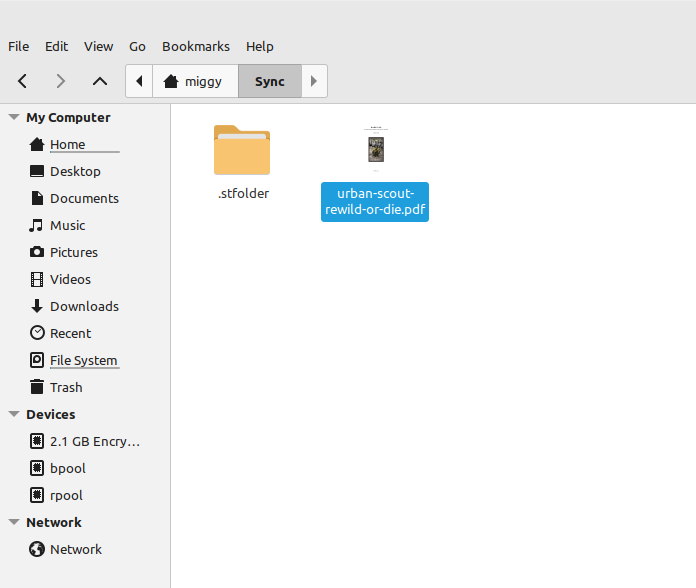
On your mobile device, upload files into the selected Sync folder. Below is an example from iOS.
If your files don’t show up right away, you can click on rescan on the client machine.
Finally, here’s proof of successful file sharing from my iPhone to my PC.